
Laravel 9 Multiple Image Upload Tutorial
https://www.itsolutionstuff.com/post/laravel-9-multiple-image-upload-tutorialexample.html
Hello all! In this article, we will talk about laravel 9 multiple image upload example. this example will help you laravel 9 multiple images upload. it's a simple example of multiple image upload laravel 9. Here you will learn laravel 9 multiple image upload with preview.
Here, we will install laravel 9 and create a simple form with a file input field that you can use to select multiple images. after submitting the form we will store those images in a folder and database.
So, let's follow the below step to create multiple images upload in the laravel 9 application example.

Step 1: Install Laravel 9
This step is not required; however, if you have not created the laravel app, then you may go ahead and execute the below command:
Step 2: Create Migration and Model
Here, we will create migration for "images" table, let's run bellow command and update code.
database/migrations/2022_02_10_140040_create_images_table.php
Next, run create new migration using laravel migration command as bellow:
Now we will create Image model by using following command:
app/Models/Image.php
Read Also: Laravel 9 CRUD Application Tutorial Example
Step 3: Create Controller
In this step, we will create a new ImageController; in this file, we will add two method index() and store() for render view and store images into folder and database logic.
Let's create ImageController by following command:
next, let's update the following code to Controller File.
app/Http/Controllers/ImageController.php
Store Images in Storage Folder
Store Images in Public Folder
Store Images in S3
Step 4: Create and Add Routes
Furthermore, open routes/web.php file and add the routes to manage GET and POST requests for render view and store image logic.
routes/web.php
Step 5: Create Blade File
At last step we need to create imageUpload.blade.php file and in this file we will create form with file input button. So copy bellow and put on that file.
resources/views/imageUpload.blade.php
Run Laravel App:
All the required steps have been done, now you have to type the given below command and hit enter to run the Laravel app:
Now, Go to your web browser, type the given URL and view the app output:
Read Also: Laravel 9 Import Export Excel and CSV File Tutorial
Output:
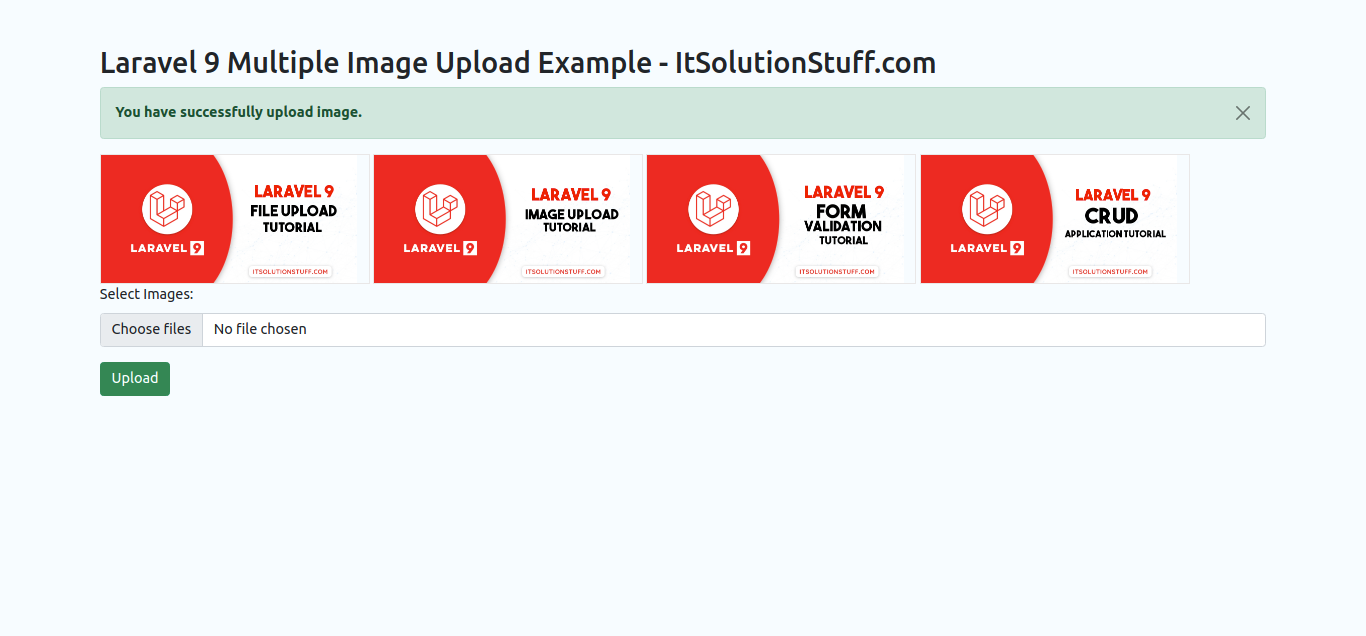
I hope it can help you...
Last updated