> For the complete documentation index, see [llms.txt](https://learnphp.gitbook.io/learnphp/llms.txt). Markdown versions of documentation pages are available by appending `.md` to page URLs; this page is available as [Markdown](https://learnphp.gitbook.io/learnphp/laravel-advanced/laravel-datatables-export-to-pdf-file-example.md).
# Laravel Datatables Export to PDF File Example
## Laravel Datatables Export to PDF File Example
By Hardik Savani July 4, 2020 Category : LaravelPlayUnmuteLoaded: 0.26%Fullscreen[](https://vdo.ai/?utm_medium=video\&utm_term=itsolutionstuff.com\&utm_source=vdoai_logo)Hi Dev,
In this quick example, let's see laravel datatables export pdf. you'll learn how to add export pdf button in yajra datatable. This article goes in detailed on laravel yajra datatable pdf export button. step by step explain laravel yajra datatable export buttons pdf.
Here, Creating a basic example of datatables pdf with button in laravel 6, laravel 7, laravel 8 and laravel 9.
In this post, i will show you step by step how to add pdf buttons in Laravel Yajra Datatables. we will use yajra/laravel-datatables-buttons package to adding export button in your datatables. you can easily export table data into pdf file so it can help you to export it.
we need to use snappy for generate pdf file with laravel yajra datatable.
So, let's follow few step to done how to export pdf file from datatable in laravel application.
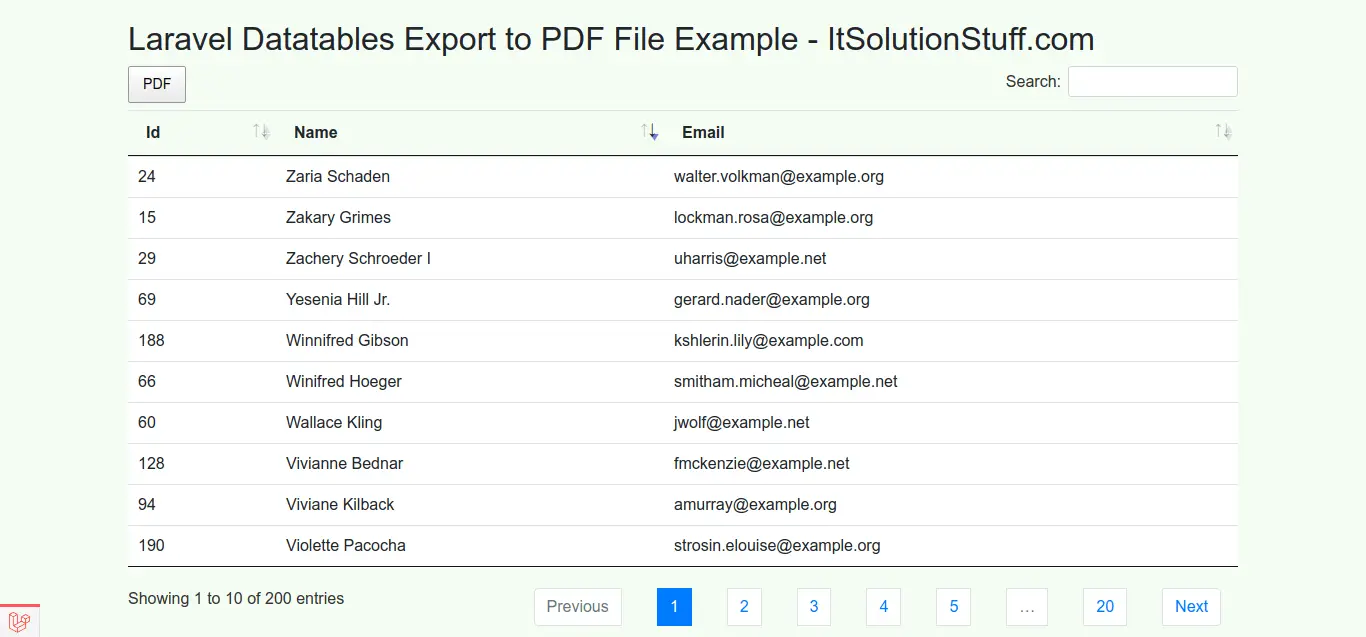
So let's follow this tutorial and you will get layout as like bellow:
Preview:
**Step 1: Install Laravel**
In this step, if you haven't laravel application setup then we have to get fresh laravel 7 application. So run bellow command and get clean fresh laravel 7 application.
```
composer create-project --prefer-dist laravel/laravel blog
```
**Step 2 : Install Yajra Datatable**
We need to install yajra datatable composer package for datatable and yajra/laravel-datatables-buttons export buttons, so you can install using following command:
```
composer require yajra/laravel-datatables-oraclecomposer require yajra/laravel-datatables-buttons
```
After that you need to set providers and alias.
config/app.php
```
.....'providers' => [ .... Yajra\DataTables\DataTablesServiceProvider::class, Yajra\DataTables\ButtonsServiceProvider::class,]'aliases' => [ .... 'DataTables' => Yajra\DataTables\Facades\DataTables::class,].....
```
Now you have to run bellow command to get configuration file, so let's run bellow command:
```
php artisan vendor:publish --tag=datatables-buttons
```
Read Also: [Datatable disable sorting on particular column example](https://www.itsolutionstuff.com/post/datatable-disable-sorting-on-particular-column-exampleexample.html)
**Step 3: Install laravel-snappy**
Here, we will install laravel-snappy composer package for export data into pdf file. so let's follow few things in this step.
install following dependencies of laravel snappy.
Note : If you have 32-bit system then install this dependencies
```
composer require h4cc/wkhtmltopdf-i386 0.12.xcomposer require h4cc/wkhtmltoimage-i386 0.12.x
```
Note : If you have 64-bit system then install this dependencies
```
composer require h4cc/wkhtmltopdf-amd64 0.12.xcomposer require h4cc/wkhtmltoimage-amd64 0.12.x
```
Now, let's run bellow command to install laravel-snappy composer package:
```
composer require barryvdh/laravel-snappy
```
After that you need to set providers and alias.
config/app.php
```
.....'providers' => [ .... Barryvdh\Snappy\ServiceProvider::class,]'aliases' => [ .... 'PDF' => Barryvdh\Snappy\Facades\SnappyPdf::class,].....
```
Now you have to run bellow command to get configuration file, so let's run bellow command:
```
php artisan vendor:publish --provider="Barryvdh\Snappy\ServiceProvider"
```
Now follow this things:
Note : After copy both folder then give 777 permission
```
cp vendor/h4cc/wkhtmltoimage-amd64/bin/wkhtmltoimage-amd64 /usr/local/bin/cp vendor/h4cc/wkhtmltopdf-amd64/bin/wkhtmltopdf-amd64 /usr/local/bin/
```
**Step 4: Add Dummy Records**
In this step, we will create some dummy users using tinker factory. so let's create dummy records using bellow command:
```
php artisan tinkerfactory(App\User::class, 200)->create();
```
**Step 5: Create DataTable Class**
Here, we need to create User DataTable class using Yajra Datatable command. so let's run bellow command:
```
php artisan datatables:make Users
```
[](https://go.ezodn.com/ads/charity/proxy?p_id=9998c020-d7c0-4632-5a6c-c90c5e11eec2\&d_id=77568\&imp_id=7591906174422122\&c_id=1093\&l_id=10016\&url=https%3A%2F%2Fwww.directrelief.org%2Femergency%2Fukraine-crisis%2F\&ffid=1\&co=VN)you have created new class file for DataTable. so let's update following file. here we will add display column, buttons and all then things.
app/DataTables/UsersDataTable.php
```
eloquent($query); } /** * Get query source of dataTable. * * @param \App\User $model * @return \Illuminate\Database\Eloquent\Builder */ public function query(User $model) { return $model->newQuery(); } /** * Optional method if you want to use html builder. * * @return \Yajra\DataTables\Html\Builder */ public function html() { return $this->builder() ->setTableId('users-table') ->columns($this->getColumns()) ->minifiedAjax() ->orderBy(1) ->parameters([ 'dom' => 'Bfrtip', 'buttons' => ['pdf'], ]); } /** * Get columns. * * @return array */ protected function getColumns() { return [ Column::make('id'), Column::make('name'), Column::make('email'), ]; } /** * Get filename for export. * * @return string */ protected function filename() { return 'Users_' . date('YmdHis'); }}
```
**Step 6: Add Route**
In this is step we need to create route for datatables layout file and another one for getting data. so open your routes/web.php file and add following route.
routes/web.php
```
Route::get('users', 'UserController@index');
```
**Step 7: Create Controller**
In this point, now we should create new controller as UserController. this controller will manage layout and getting data request and return response, so put bellow content in controller file:
app/Http/Controllers/UserController.php
```
render('users'); }}
```
**Step 8: Create View**
In Last step, let's create users.blade.php(resources/views/users.blade.php) for layout and we will write design code here and put following code:
resources/views/users.blade.php
```
Laravel Yajra Datatables Export to Excel Button Example - ItSolutionStuff.com
Laravel Yajra Datatables Export to Excel Button Example - ItSolutionStuff.com
{!! $dataTable->table() !!}
{!! $dataTable->scripts() !!}
```
Now we are ready to run our example so run bellow command ro quick run:
```
php artisan serve
```
Now you can open bellow url on your browser:
Read Also: [Laravel Yajra Datatables Export to Excel CSV Button Example](https://www.itsolutionstuff.com/post/laravel-yajra-datatables-export-to-excel-csv-button-exampleexample.html)
```
http://localhost:8000/users
```
I hope it can help you...