> For the complete documentation index, see [llms.txt](https://learnphp.gitbook.io/learnphp/llms.txt). Markdown versions of documentation pages are available by appending `.md` to page URLs; this page is available as [Markdown](https://learnphp.gitbook.io/learnphp/laravel-advanced/laravel-8-7-ckeditor-image-upload-example.md).
# Laravel 8/7 Ckeditor Image Upload Example
## Laravel 8/7 Ckeditor Image Upload Example
By Hardik Savani January 2, 2020 Category : LaravelPauseUnmuteLoaded: 2.45%Fullscreen[](https://vdo.ai/?utm_medium=video\&utm_term=itsolutionstuff.com\&utm_source=vdoai_logo)Today, i wanted to give you example of how to use ckeditor in laravel 8/7, as well we ckeditor with image upload in laravel 7/6 application. you have to follow 4 step to install ckeditor in laravel 8/7 and image upload in ckeditor with laravel 7/6.
You can also see preview of image upload in ckeditor with laravel 7/6.
We will use filebrowseruploadurl and filebrowserUploadMethod function of ckeditor in laravel 5. so if you have ckeditor image upload not working in laravel then i will hep you to how to upload image using ckeditor in laravel.
I write very simple example of image uploading with laravel step by step so you can easily use in your laravel. Ckeditor is a most powerful tool for content editor. so if you have image upload option also available then it awesome.
So, let's see bellow steps to getting done with image upload in ckeditor laravel.
**Step 1: Add Routes**
First we need to create two routes for display ckeditor form page and another for image uploading. so let's create it.
routes/web.php
```
Route::get('ckeditor', 'CkeditorController@index');Route::post('ckeditor/upload', 'CkeditorController@upload')->name('ckeditor.upload');
```
**Step 2: Create Controller**
In this step, we will create new controller as CkeditorController with two method index() and upload(). in index method we will return and view and upload method we will write code of image uploading.
app/Http/Controllers/CkeditorController.php
```
hasFile('upload')) { $originName = $request->file('upload')->getClientOriginalName(); $fileName = pathinfo($originName, PATHINFO_FILENAME); $extension = $request->file('upload')->getClientOriginalExtension(); $fileName = $fileName.'_'.time().'.'.$extension; $request->file('upload')->move(public_path('images'), $fileName); $CKEditorFuncNum = $request->input('CKEditorFuncNum'); $url = asset('images/'.$fileName); $msg = 'Image uploaded successfully'; $response = ""; @header('Content-type: text/html; charset=utf-8'); echo $response; } }}
```
Read Also: [Laravel 6 File Upload Tutorial Example](https://www.itsolutionstuff.com/post/laravel-6-file-upload-tutorial-exampleexample.html)
**Step 3: Create Blade File**
Here, we need to create ckeditor.blade.php file and write form logic and ckeditor js code. so let's create it.
resources/views/ckeditor.blade.php
```
Laravel 6 Ckeditor Image Upload Example - ItSolutionStuff.com Laravel 6 Ckeditor Image Upload Example - ItSolutionStuff.com
```
**Step 4: Create images folder**
In last step, we need to create "images" folder on your public directory. so must be create with permission.
Now we are ready to run our application example with laravel 6 so run bellow command for quick run:
```
php artisan serve
```
Now you can open bellow URL on your browser:
Read Also: [Laravel 7/6 Auth Login with Username or Email Tutorial](https://www.itsolutionstuff.com/post/laravel-6-auth-login-with-username-or-email-tutorialexample.html)
```
http://localhost:8000/ckeditor
```
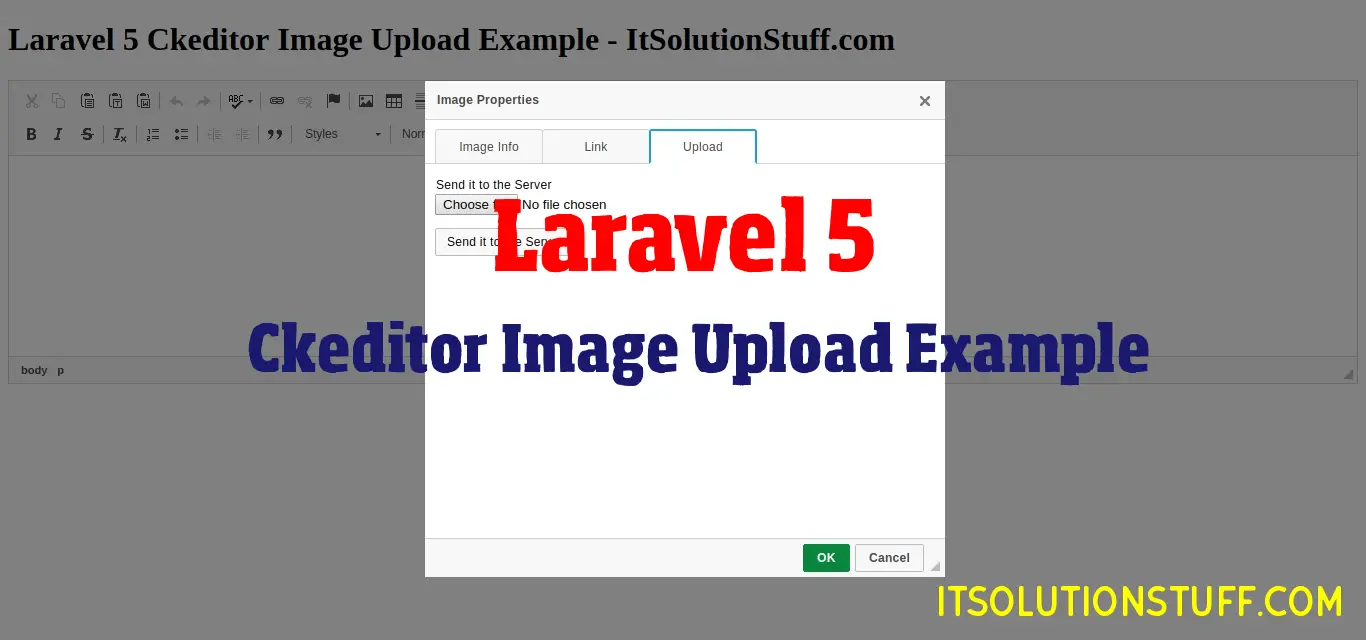
Preview:
[](https://go.ezodn.com/ads/charity/proxy?p_id=6a353aa3-18d4-4a6a-7ae2-45a5a9fd9f8b\&d_id=77568\&imp_id=9174684444495811\&c_id=1093\&l_id=10016\&url=https%3A%2F%2Fwww.directrelief.org%2Femergency%2Fukraine-crisis%2F\&ffid=1\&co=VN)
I hope it can help you....